Before You Begin
As we reviewed The Modern Cheesemaker book and tested recipes, we discovered a few basic things you'll want to know for cheesemaking at home.
• Cheese salt is non-iodized. Iodized salt harms and inhibits bacterial growth that is essential to any good cheesemaking.
• Rennet is the enzyme ingredient you add in to coagulate the milk and create curds. Rennet quantities and directions will vary depending on what kind of rennet you use. There are different types of rennet, the most common are animal and vegetable rennets. It is important to follow the instructions that come with your specific rennet for the quantity of milk you are using. We tested The Modern Cheesemaker recipes with animal rennet and diluted ⅛ teaspoon (5–6 drops) in ⅛ cup of non-chlorinated water before adding the entire dilution to the milk.
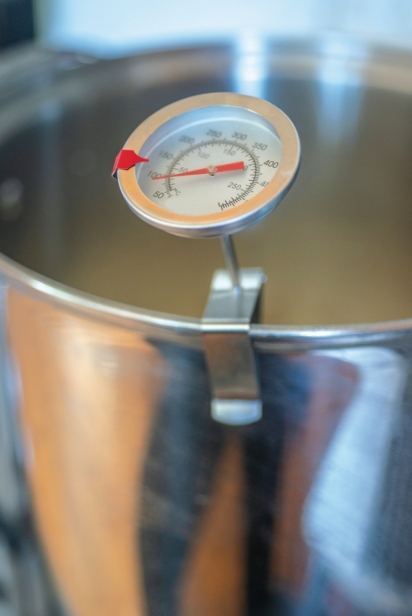
• Use a non-reactive pot and stirring utensil. And a pan thermometer with long probe is a must.
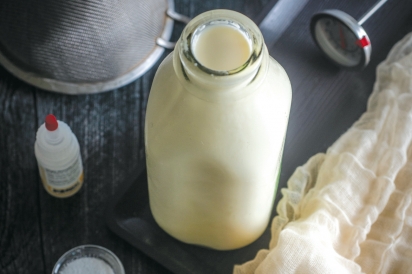
• Raw milk works best. Ultra pasteurized milk will not work.
• Want a drier cheese? Let it hang longer. Humidity and climate can affect drying time.
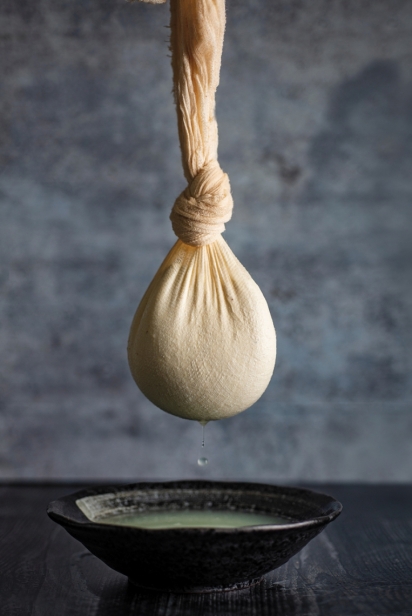
• Tying your hanging bag to drain the whey (the watery part of milk that remains after the formation of curds) from the cheese curds can be tricky the first time. Check out the cheesecloth and cheese bag tying and draining tips reprinted from the The Modern Cheesemaker book here.
Making Your First Cheeses
All cheesemaking recipes rely on a few important steps:
Step 1: Assemble your ingredients and tools
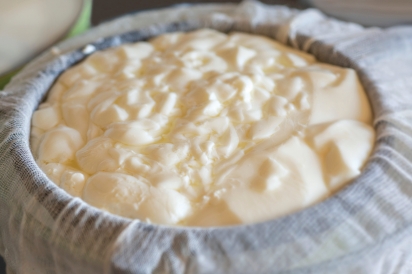
Step 2: Heat your cheese mixture–milk, rennet or citric acid, plus recipe ingredients to coagulate curds and create a gel mixture
Step 2A: (not shown) Gently cut up or cube the curd mixture while still in the pan to help separate the curds and the whey ( the watery part of milk that remains after the formation of curds.)
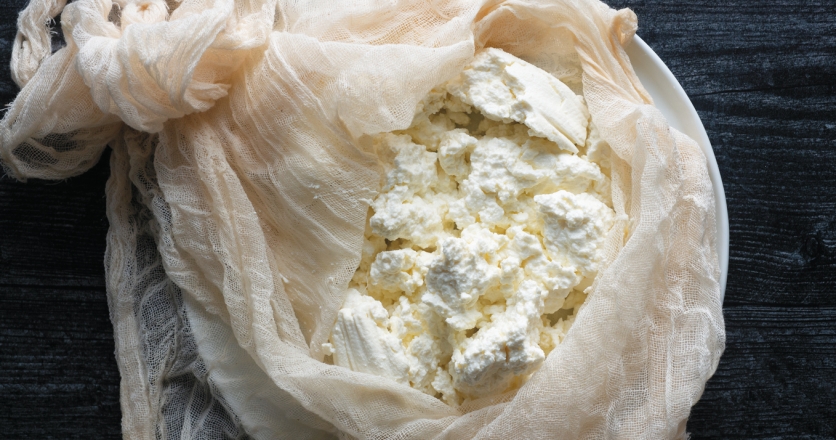
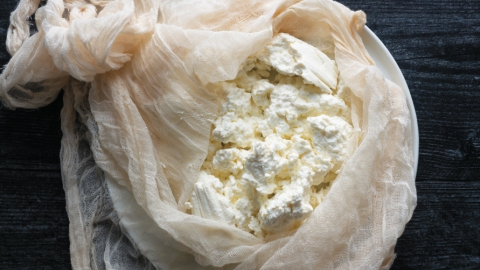
Step 3: Place curd mixture into a cheesecloth lined bag to prepare for tying a draining bag.
Step 4: Tie bag, and drain curds from whey using a hanging cheesecloth cheese bag. Tips on tying a cheese bag here.
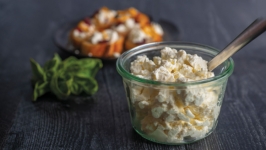
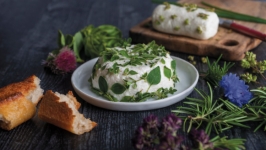
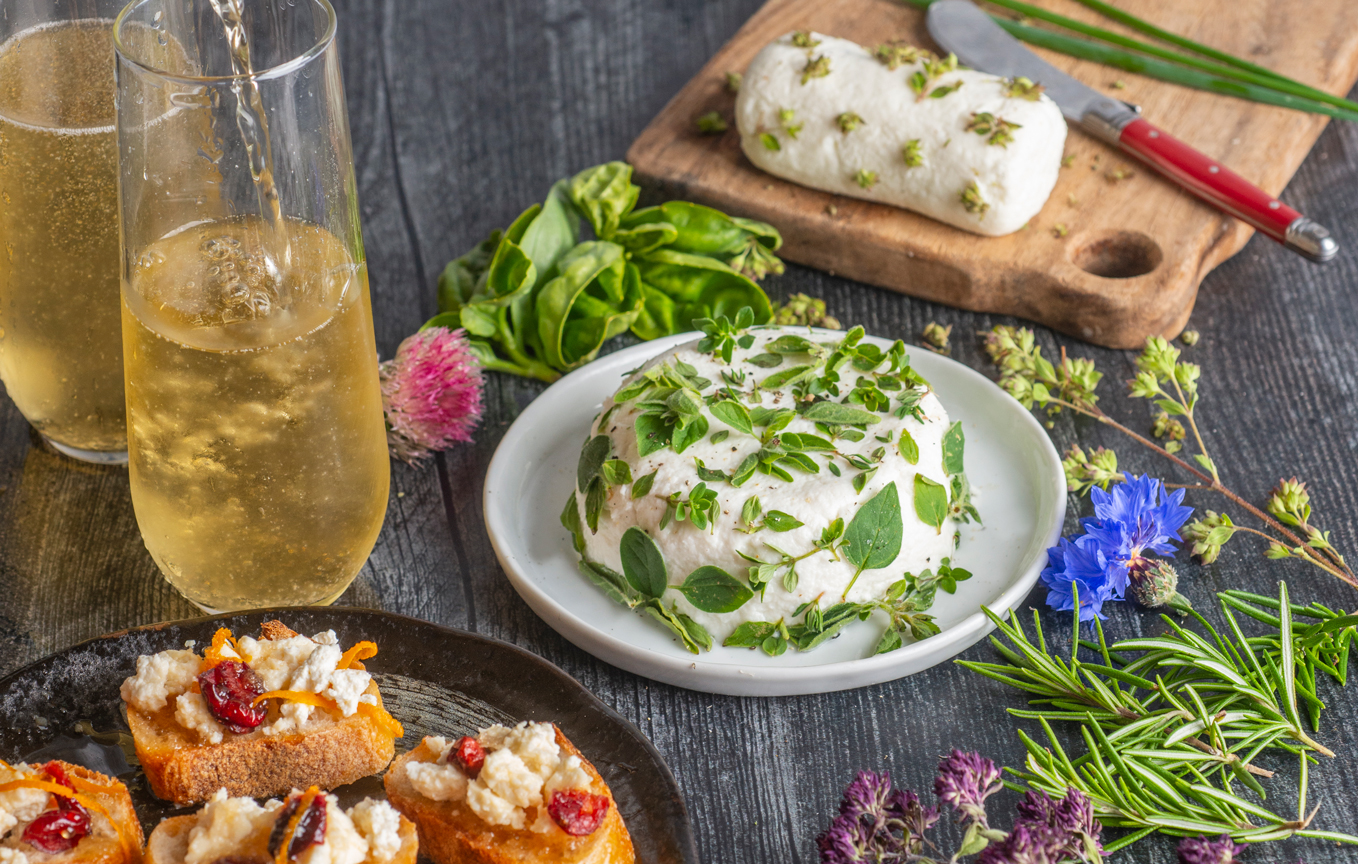
Step 5: Salt, flavor and prepare cheese according to recipe.


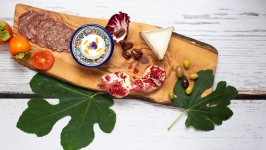
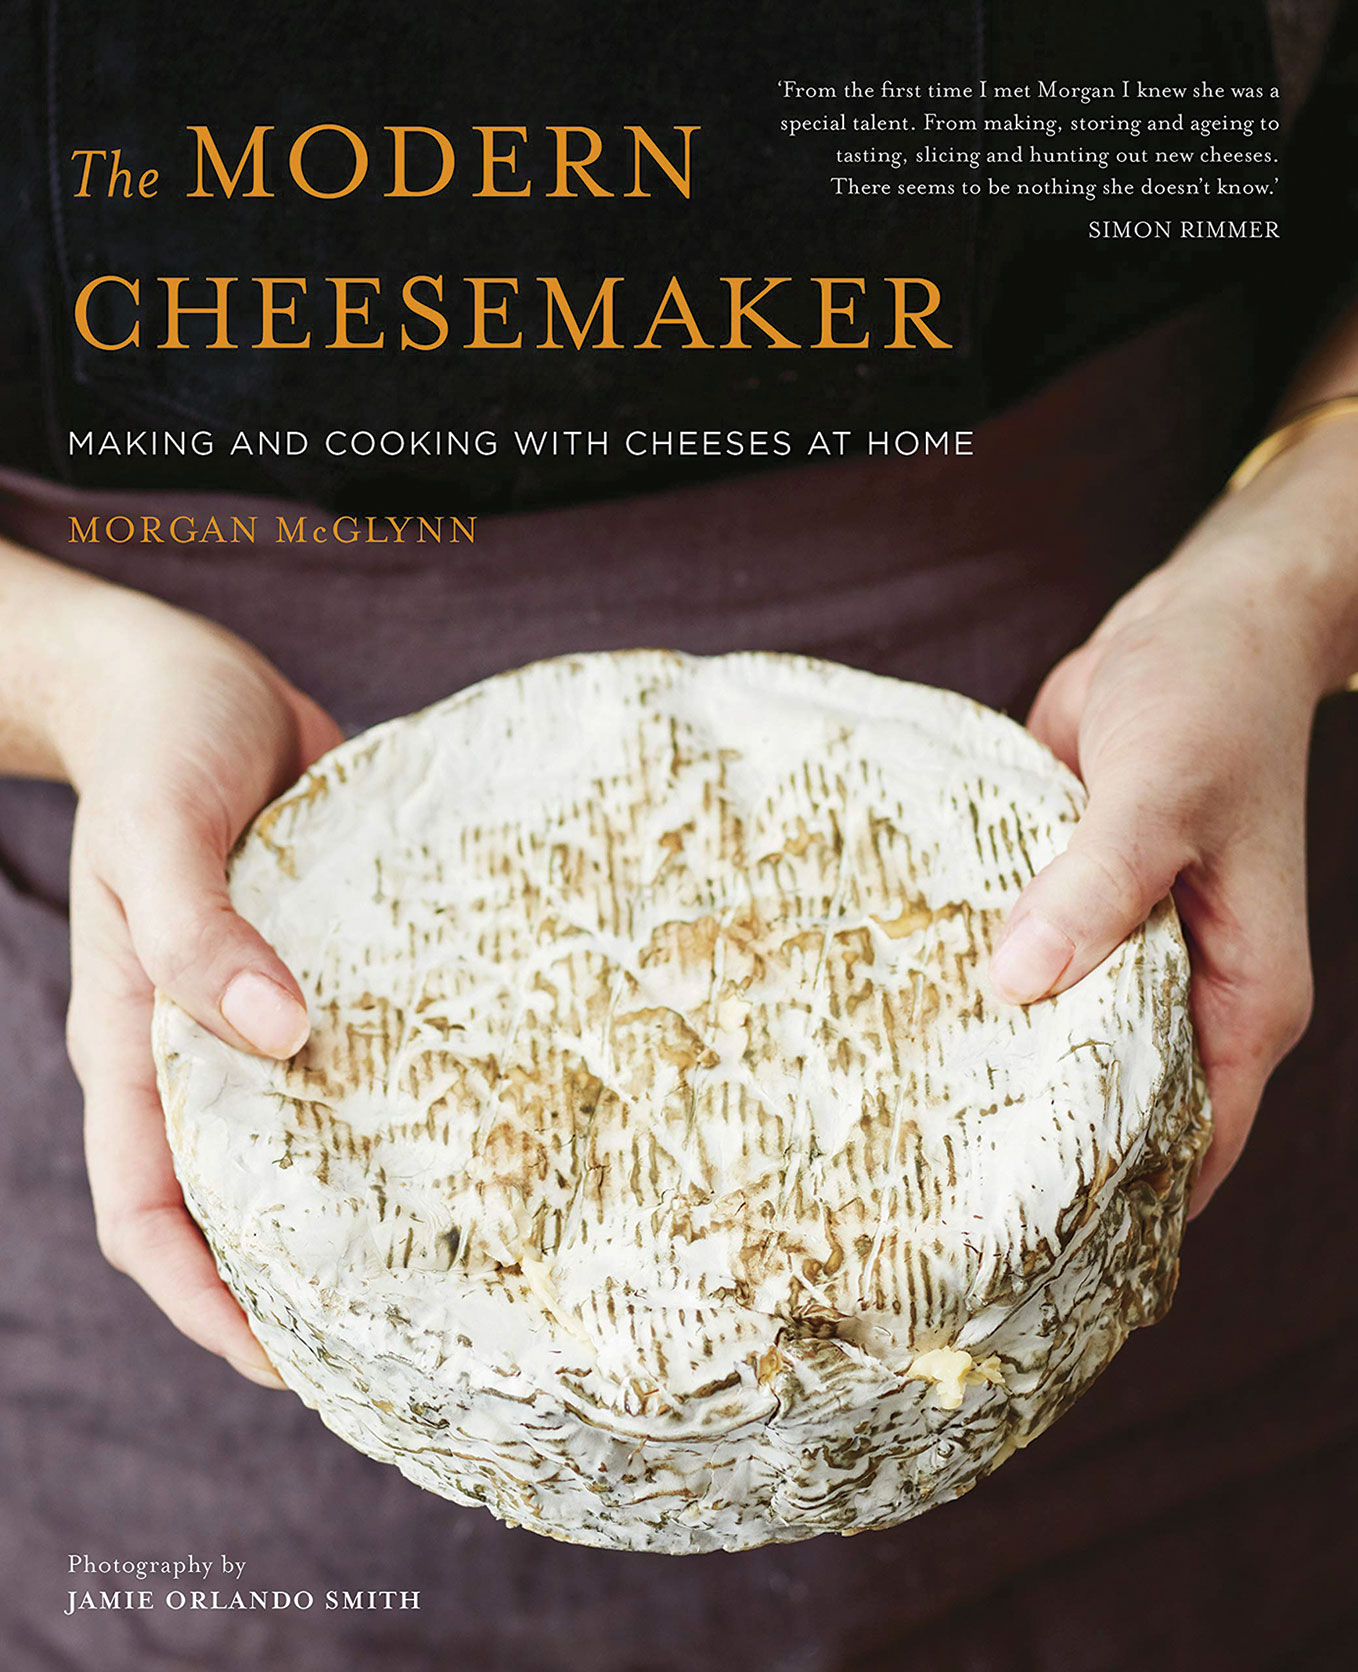 Even with that success I hesitated to venture further until I came across Morgan McGlynn’s recently released book The Modern Cheesemaker: Making and Cooking with Cheeses at Home. Morgan, who at age 21 was named Britain’s youngest female cheesemonger, is also the owner of the award-winning cheese shop Cheeses of Muswell Hill in North London. She takes her years of experience and transforms them into clear, step-by-step instructions that are supplemented with beautiful photography. There are variables in cheesemaking (such as type of milk or rennet used) so the simplicity of her directions makes the process less overwhelming. Once you have success in making cheese, you might find that you have a surplus on hand. Not to worry, the book is also full of fresh, seasonal and delicious ways to incorporate it into your meals.