Mariko Grady shares how she started each day drinking a cupful of miso soup. “To maintain good condition for my body and spirit, fermented food was easy; it helped me stay fit.”
Ingredients
- 6 ounces [170 g] dry beans, preferably soybeans, or 12.7 ounces
- [360 g] canned beans 2⅝ ounces
- [72 g] sea salt 8½ ounces
- [240 g] koji
- Pressure cooker
- Medium ceramic crock or bowl for fermenting
- Resealable plastic bag large enough to cover the entire top of the crock
- 1 pound [450 g] coarse salt to fill the plastic bag as a weight
About this recipe

Recipe from We Are La Cocina
By Leticia Landa and Caleb Zigas
Photography by Eric Wolfinger
Instructions
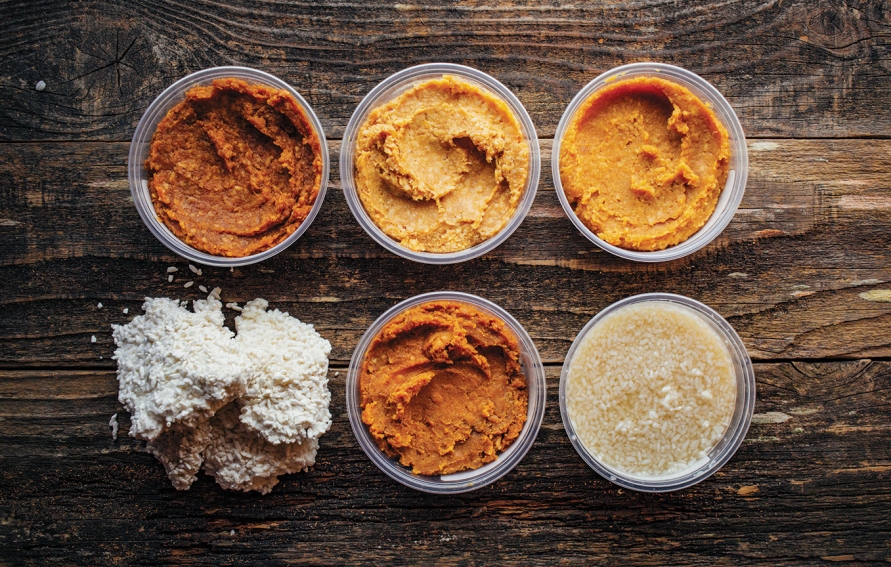
Miso is about ratios. For country miso, I use soybeans and then half rice koji and half barley koji. For people who have a soy allergy, I use chickpeas. You can experiment; you just have to be very patient to understand the results.
The basic ratio for a 6-month–aged miso is 10:7:3 = koji : dry beans : salt. The only way to do it correctly, and with precision, is by weight. Koji is the fungal mold Aspergillus oryzae. It has been used for over 2,000 years to ferment soy sauce, rice vinegar, sake, sochu and miso.
On day 1, if using dry beans, wash and soak them in three times the amount of water for at least 12 hours (overnight is easiest).
On day 2, place the beans in a steamer bag and place the bag on a steaming rack or basket placed inside a pressure cooker. Cook until soft, about 30 minutes.
If using canned beans, start here. Put the beans in a stand mixer fitted with the paddle attachment and mix on high until mashed. Cool until you can comfortably touch them (if they are too hot, the koji enzymes will be killed), then mix in the salt and koji. Continue to mix on medium speed until the mixture becomes doughlike and starts to pull away from the sides of the work bowl, about 5 minutes. If you taste the mixture at this point, you’ll find it extremely salty! This is normal.
You want to ensure that there’s no air in the miso that you pack for fermentation. The easiest way to do this is to take a palm-size chunk and slap it into a ball shape. Make sure there aren’t any bubbles. Then push that ball tightly into your fermenting container, filling every corner. Repeat with the remaining bean mixture, squeezing and pushing tightly until the container is packed. Make sure the top layer is very smooth.
Spread two layers of plastic wrap to completely cover the miso, pushing down for a tight seal. Place the plastic bag full of salt on top, ensuring that no air is in contact with the bean mixture. Store it in a dark, cool, dry location for at least 6 months.
After 6 months: Remove the salt and plastic wrap from the miso. It should be a deep brown color. There may be a few small white spots at the top; if you’ve done everything right, this is some of the proteins coming up from the fermentation, not mold. Taste the miso. It should taste far less salty than it did 6 months before and have a deep, umami quality. If you’re happy with the taste, you can refrigerate the container and use it in a variety of recipes. If you’d like to age it longer, make sure that you smooth the top, use fresh plastic to cover it completely, and weigh it down with salt again, for up to 1 year total.